CD-i Explorer Manual
Contents
General usage
CD-i Explorer is an attempt to let you browse real time files. Real time files are one particular file format used on CD-i disks, containing various data types and organized in order to be efficiently read by the hardware.
This prototype shows their logical structure, extracts data, and tries to interpret it. But it does not intend to be a complete extraction software. Some data can be interpreted, other cannot be or require additional processing.
Here is a short representation on CD-i layers. CD-i Explorer focuses on exploring the last two ones.
Though you might open any CD-i raw ISO/BIN file directly, I suggest to first extract CD-i files separately in order to help organizing your exploration. I recommend the software IsoBuster for this task (extract with raw data extraction).
Main Features
- Records and sectors representation
- Extract most compressed audio data (ADPCM) to wave files
- Partially view CLUT7, CLUT8 and RLE7 images
Opening a file
Choose a CD-i file, usually .RTF but you can also select “All files” in the drop-down list, so you can now select a raw disk image file you want (usually .bin or .iso).
Hit open, and CD-i explorer will start parsing sector and filling up the record list.
Browsing the records
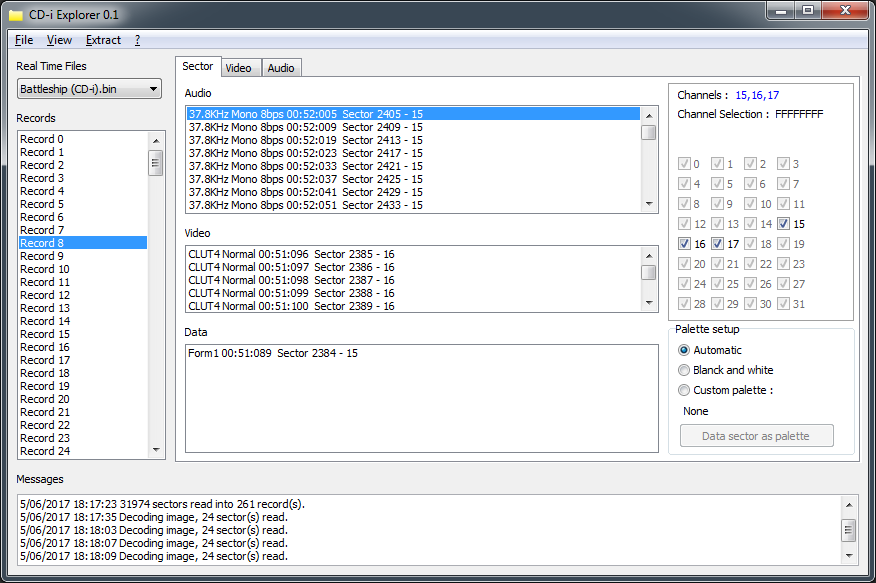
Click on a record in the record list to display information about its sector and to activate the View and Extraction menu.
Sector tab
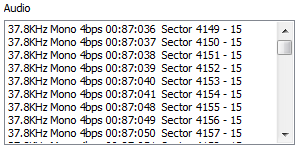
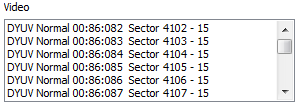
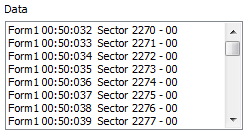
This tab lists all the sectors that are contained into the selected record. It is divided into three lists: Audio, Video and Data sectors.
Each sectors prints its own header data:
Audio sectors
- Audio frequency in KHz
- Sound channel (mono/stereo)
- Bits per sample
- PMIN, PSEC, PFRAME
- Sector count
- Channel number
Video sectors
- Coding method
- Image resolution
- PMIN, PSEC, PFRAME
- Sector count
- Channel number
Data sectors
- Form 1 or Form 2
- PMIN, PSEC, PFRAME
- Sector count
- Channel number
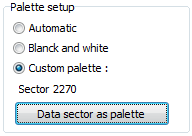
Palet setup frame
This frame allows to set a custom palette, that is, the data containing the color values for each pixels. CLUT8, CLUT7 and RLE pictures will be colored according to the palette selection mode.
- Automatic
Manage colors automatically, following these rules :
- If a data sector is selected in the data sectors list, it will be considered as the palette to be used for image decoding.
- Else, CD-i explore will take the first data sector in the list as palette.
- If there isn't any data sector at all, it will load a default black and white palette, where color index 0 refers to color #000000, index 1 to #020202... and so on.
- Black and white
A black and white palette will be used to color decoded pictures.
- Custom
Images should be decoded with a sector selected previously in the data sectors list as palette. The sector may belong to another record that the current one, but should be part of the same real time file.
- Data sector as palette button
Set the selected data sector as current custom palette.
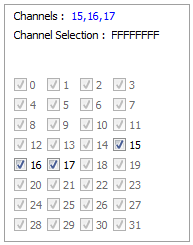
Channels frame
This frame allows to set the channel selection for the current record. It will directly impact the behavior of the Extract menu. In short words, multiple files can be interleaved over multiple sectors. Channel selection will dissociate these sectors (which is often required for correct audio interpretation).
The first label in the rightmost frame will display a list of available channels. The second one shows the resulting mask used for the selection (logical AND).
Video tab
This tab, under construction, allows to change the image dimension to interpreted in the View menu.
Audio tab
This tab displays the audio sectors of the selected record.
The number of audio channels can be forced, if you select one or more items in the list and right click on the list. Please note that the alteration of audio channels will be performed BEFORE the data interpretation. If you want to drop an audio channel AFTER the conversion, it can easily be done with another sofwtare like Audacity.
The main menu for displaying picture data. It is unstable and experimental, but using it might produce interesting results and reveal some content.
Not implemented.
Show selected image
This action will show a small window representing first the picture data. It use width and height values provided in the Video tab.
If the record contains a data sector, CD-i Explorer will try to interpret as CLUT “palette” data. If not, a default black and white substitution palette will be used. For example, a CLUT7 black and white palette will be build like this :
- index 0 → R0,G0,B0 ;
- index 1 → R2,G2,B2 ;
- ...
- index 127 → R254,G254,B254)
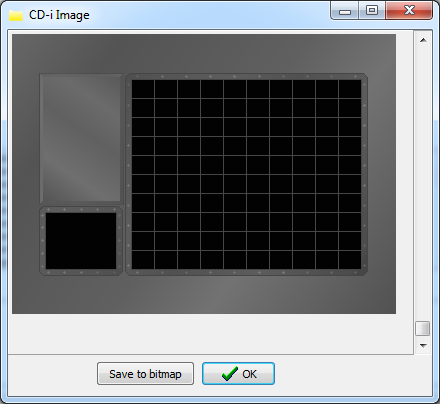
Show Images...
Shows a windows representing picture data.
Dragging the vertical scroll bar will display the next picture data to be read in the current record.
Hit the "Save bitmap" button to record the image as a bitmap file.
Show All Images…
Not implemented.
This menu will extract the current record data to file (in the directory where CD-i Explorer is running).
All
Extract the desired data type. More or less equivalent of the IsoBuster “Extract but convert to user data”, it removes the sector header fields but keeps data.
The extracted data is uninterpreted which makes this option only useful for users that are wanting to build their own data interpreter.
- Audio: Extract the audio sectors sequentially (ADPCM data).
- Splits none: Extract the audio sectors from the current record in one file.
- Splits Video: If Video is checked, a new video file will be created for each audio sector encountered in the sector sequence.
- Splits Data: If Data is checked, a new data file will be created for each audio sector encountered in the sector sequence.
- Splits Both: If Video and Data are checked, a new video or data file will be created for each audio sector encountered in the sector sequence.
- Video: Extract the video sectors sequentially.
- Splits none: Extract the video sectors from the current record in one file.
- Splits Audio: If Audio is checked, a new audio file will be created for each video sector encountered in the sector sequence.
- Splits Data: If Data is checked, a new data file will be created for each video sector encountered in the sector sequence.
- Splits Both: If Audio and Data are checked, a new audio or data file will be created for each video sector encountered in the sector sequence.
- Data: Extract the video sectors sequentially.
- Splits none: Extract the video sectors from the current record in one file.
- Splits Audio: If Audio is checked, a new audio file will be created for each data sector encountered in the sector sequence.
- Splits Video: If Video is checked, a new video file will be created for each data sector encountered in the sector sequence.
- Splits Both: If Audio and Video are checked, a new audio or data file will be created for each data sector encountered in the sector sequence.
To Wave
Extract the audio sectors of the current record, convert them to pulse code modulation, and pack them into a wav file.
The behavior of this feature can be customized with channels (See Audio tab)
Bibliography
Philips Consumer Electronics B.V. (May 1994), Compact Disc Interactive Full Functional Specification, Eindhoven, The Netherlands, Retrieved on May 31, 2017 from http://www.ip.philips.com/licensing/program/16
Smart Projects, IsoBuster 3.8, 2017, Retrieved from https://www.isobuster.com/
All the community from http://www.cdinteractive.co.uk/

